Manufacturing printed circuit boards (PCBs) is more than just drilling holes and inserting components. Designing and manufacturing custom PCBs requires special skills, tools, and processes to create a finished product. It’s challenging work that requires tight attention to detail and the ability to see the big picture. The details matter because the quality of your PCB design directly impacts the manufacturing process and final product performance. If you’re a hobbyist or semi-professional who wants to make your custom circuit boards at home or in a small workshop, this guide has everything you need to know about how to manufacture PCBs efficiently and accurately. Let’s take a look at some of the most important considerations when making custom circuit boards.
Communication is key
The number one mistake that people make when manufacturing custom PCBs is not completely understanding the process. You may think you know what you want, but do you know what’s possible? This guide will help you understand the entire manufacturing process, but it’s important to get as much additional information as you can from your PCB manufacturer. Ask lots of questions — the more you know, the better your PCB design will be.
Determine the manufacturing requirements
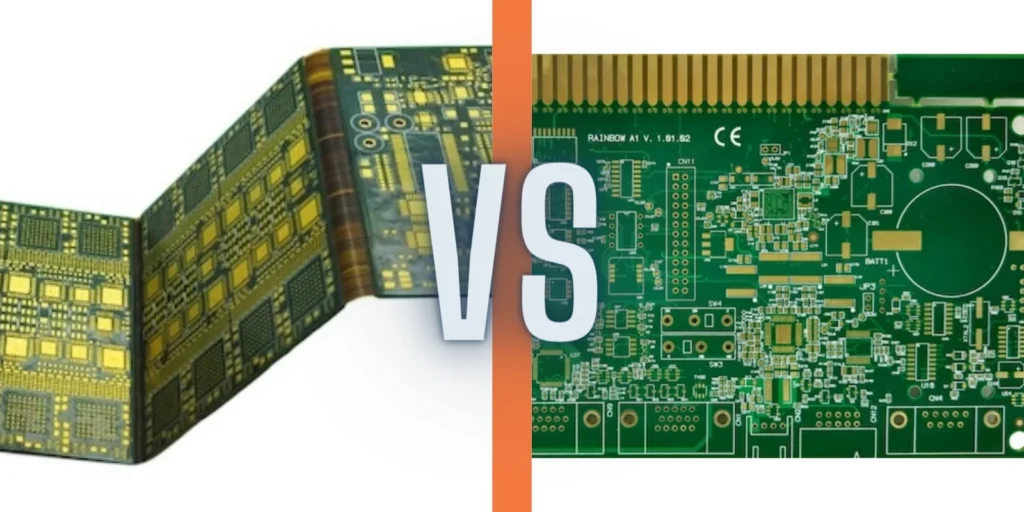
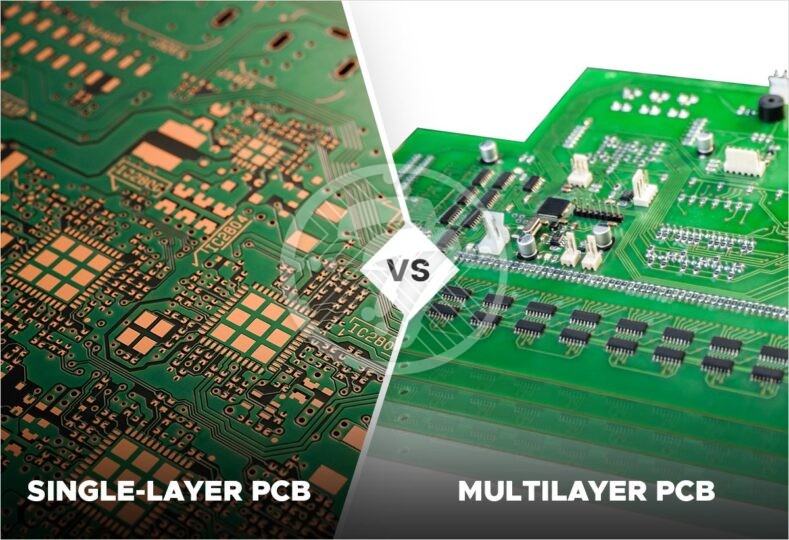
PCB manufacturers can do a wide range of services, from simple single-sided boards to complex double-sided boards with fine line-width silkscreen. While you’re still in the design phase, it’s a good idea to think about what kind of PCB you want to make and the materials you’ll need. This will help you specify your requirements and prevent costly changes and rework later in the process. Here are some common requirements you may want to consider: – Thickness – What’s the minimum thickness required for your PCB? You’ll want to make sure the board is thick enough to be durable and hold components securely. – Material – What type of material do you want your PCB to be made from? FR-4 is the most popular material for circuit boards. Other materials include Rogers, Toroid, and ENIG. – Number of layers – Most PCB manufacturers can manufacture boards with one or two layers, but some can do more. Double-sided boards will typically be more expensive than single-sided boards. – Fine line width – What’s the minimum line width you want for your silkscreen? Fine line-width silkscreen can be helpful for labeling and visual design. – Board shape – The shape of your PCB matters less when it comes to the design process, but it can impact manufacturing. Square boards are easier to manufacture than round boards. – Solder mask – Some PCB manufacturers offer solder masks as an option. It’s helpful for visual design and protecting circuit traces.
Decide on your Custom PCB material and thickness
When you’re deciding on the type of PCB material to use for manufacturing your circuit boards, you’ll need to account for a few things. The most important considerations are your application and the thickness of your PCB. If you’re not sure what PCB thickness to use, start with 1 oz copper boards. These are a good, general-purpose thickness and can be used for most applications. They’re relatively cheap and easy to manufacture. If you have a specific application in mind, though, you can also select materials like 2 oz copper boards. These are more expensive, but they’re also more durable. They’re ideal for applications like high-powered electronics.
Think about solder mask and stencil requirements
If you want a solder mask on your PCB, you should account for those requirements during the design process. There are different types of solder masks, and some are more complex than others. You should also think about whether or not you want an outline on your board. This is helpful for visual design, but it can also impact the minimum hole size of your PCB.
Decide on your hole size and location
You’ll want to decide on your hole size and location before you design your PCB. This will allow you to design your PCB layout properly. If you prefer a specific hole size, you’ll need to make sure your PCB designer knows about it. The rule of thumb here is the larger and more complex your board layout is, the smaller you should make your holes. When it comes to deciding on the location of your holes, you can either use a standard hole or a non-standard hole. Standard holes are typically 0.1 inches apart. Using standard holes is helpful because it allows you to quickly and easily connect and disconnect components. If you want to use non-standard holes, though, you’ll need to account for that in your layout.
Choose your components
Once you know the type of components you want to use for your PCB, you can start adding them to your design. However, you’ll need to keep in mind the space on your board and the type of layout you want to use. The majority of standard components come in 0.1-inch grid size. If you want to use non-standard components, you can account for that in the design process.
Your final checklist
Once you’ve completed the design process and are ready to manufacture your PCBs, it’s a good idea to do a quick checklist to make sure you don’t forget anything. Here are some things to double-check: – Your board design is correct and completely accurate. – Your PCB design has consistent dimensions and is properly aligned. – You’ve selected the right copper thickness and copper thickness distribution. – You’ve considered the type of components you want to use and their size. – You’ve accounted for the location of your holes and connectors. – You’ve selected the right solder mask and solder mask type. – You’ve factored in the location of your silkscreen text and design. – Your PCB manufacturer has all of the information they need to create your boards. Now that you’ve read through this guide, you’re ready to start designing your boards. Just remember to keep these tips in mind and you’ll be well on your way to creating a high-quality, custom PCB design.

